Thursday, June 7, 2012

Today is an exciting day.  Today we are going to eat our first meal from the garden.  I suppose 'meal' is a little misleading.  We picked 1 cup of spinach, not enough for a salad, but maybe I'll add it to our lettuce.  These things make me so happy.  It's a landmark day in our summer.


Here is our new garden.  This one we planted on May 11th.  We covered it with plastic and made a nice little green house to protect it from the frosts that we've had since then.  I think next year we could start earlier.


Nothing else is even close to ready yet,  so it's lots of spinach for now.  If you're like me and will only be eating spinach for the next month check out this website for important info on spinach.


Wednesday, May 2, 2012

  Alex and I have always dreamed of being those types of real gardeners,  the kind that eat there own carrots all year and never buy a store bought tomato and have enough to feed their neighbours too.  The problem is, we suck at gardening.  I don't have a clue what I'm doing and Alex is usually too busy to help me out.  This year though,  we both want to make an effort.  We really want to be amazing gardeners,  it might not happen this year,  but at least we'll try some new things and maybe learn what works and what doesn't.  So,  here is a tour of our soon to be garden.


This is the first time ever we have tried to start our own seeds.  We used egg cartons, milk cartons, and last years seedling pots and then strawberry containers to make a little green house. So far, so good but, I hear the tricky part is transitioning them to the garden.


And here is our new garden.  Soil to come soon (hopefully).  We are going to try the square foot gardening method,  we'll see how it goes.  After a few years of our garden getting completly washed out or having terrible weeds or some type of disease we finally took the plunge and got raised beds.  I'm so excited.


This is our compost system.  We put all of our new compost in the garbage can with holes in it.  We roll it around everyday to mix it up.  Then we store our almost ready compost in this box type thingy that Alex made out of old pallets he got for free at home hardware.

I can't wait for the weather to get nice.  I'll try to update our garden progress through out the summer.

Thursday, April 12, 2012

And the secret ingredient is.....

       Last week I wrote about how I'm trying new vegetables.  Kale was our big suprise,  we love kale and I'm constanly finding ways to add it to our food.  This week's secret ingredient is  Fennel.  I don't know a thing about fennel,  except what I need to know and that is this.... it's a cure for gas.  A few people in my household may or may not have an 'issue' with flatulence,  that's all I'm saying.  But, we've been enjoying having fennel around.
       So,  what do you do with fennel?   I really don't know.  I chopped it up and ate it fresh,  it tasted like celery but sweeter.  I also added it to my potato soup in place of celery.  It tasted the same.  Looking online for recipes was no help,  it seems that most people who cook with fennel also cook with things that are outside my sphere of home cookin'.  Food snobs I call them.
       Anyways,  fennel is here to stay.  If anybody has some regular person recipe that uses fennel, please share.

Monday, April 2, 2012

Real Food Menu Planning

This post is actually about how I don't menu plan.  In the past I've been a big fan of planning our meals,  it just seems to make the week go easier and I think I do a better job of using all my food and saving a bit of money.  These days though,  I don't know how to cook.  Real Food is very new to me.  It used to be that I knew that in a pinch I could always throw a roast in the crock pot with a can of mushroom soup,  serve it with pasta and some frozen peas and everyone would be happy.  But, alas those are the old days, time to become fluent in the language of 'real'.

This is what we've been doing lately.  Alex goes grocery shopping once a week and has WAY too much fun in the produce section.  He comes home with piles of fruits and vegetables and then it's my job to figure out how to use them.  It's a very fun challenge to find ways to use everything by the time he goes shopping again.  Basically this is what I do everyday.  I decide on the meat and prepare it.  I then say a little prayer and go to my fridge and just start taking out vegetables and chopping and sauteeing or roasting.  I make myself try new combinations and new (to me) ways of preparing them.  In general I've learned that as long as I can add a good layer of cheese it will always be okay.
Here is one of our favorite recipes that 'just happened'.

Upsidedown Shepard's Pie (that doesn't really fit,  but I have no better ideas for a name)


1. Brown a pound of hamburger.
2.Chop up a large sweet potato and boil until soft.
3.Sautee some mushrooms in butter and then add a bunch of chopped up kale and some minced garlic and cook until the kale is wilted.
4. Layer in a casserole dish;  sweet potato,  kale and mushrooms, hamburger and of course top with cheese.
5.  Bake for about 20 mins at 350 F.

Two months ago I didn't know what kale was.  I thought it was a seaweed,  I think that's kelp.  I have yet to try kelp.


This has been shared at Healthy 2day Wednesdays and Frugal Days Sustainable Ways.

Wednesday, March 28, 2012

through the Bible in 90 days

  This isn't really regular programing here,  but I wanted to write about something I'm doing.  I've started reading the Bible in 90 days.  I've done this once before so I know what I'm getting myself into.  I'm really excited.  These past few weeks have been really tiring and it's become increasingly apparent that the most important thing I can do as a mom is read my Bible all the time.  Reading on a fast schedule like this puts everything in a different perspective.  For instance, it was once a drudgery to get through Leviticus,  it was so long and by the time you're near the end you could really care less who the Levites were and why they had a bunch of laws.  On this schedule Leviticus takes 2 and a half days and it's actually really fascinating in the perspective of the Exodus account.  The reading takes me about 45 minutes.  I read here and there throughout the day and then just finish up when the boys are in bed.  I like reading around the boys because they inevitably will ask about what I'm reading.  It's made for some memorable conversations.
Anyways,  that's what I'm doing these days.  If you're interested here's the schedule.

Monday, March 19, 2012

Ranch Dressing

We are pretty addicted to this stuff.  When I was pregnant with Bennett we started going through bottles of ranch dressing like nobody's business.  We almost never eat salad, but we put ranch dressing on everything. Have you ever looked at the ingredients?  First of all there are tons of them and sugar is only third on the list.  I'm a bit on the hypoglycemic side so I need to limit my sugar and it really bugs me when something that is not even sweet uses up my sugar quota.  There is also MSG and a bunch of ingredients I can't say.  Since this is hardly 'real food' there is no longer a place for bottled ranch dressing in our home.  This is not as sad as it seems because I have finally found a recipe I love.


'Real Food' Ranch


homemade sour cream
onion flakes
parsley flakes
dill
salt
apple cider vinegar

No measuring, just throw it all together until it tastes good, add yogurt or kefir to make it a bit more like dressing.


this post was shared at domestically divine tuesdays, Real Food Wednesdays and healthy 2day Wednesdays.

Friday, March 16, 2012

Baby Bum Balm

I love this stuff!!  It's really easy to make and really cheap and it really works.

Baby Bum Balm

3 parts olive oil
1 part beeswax
vitamin E oil.

put the olive oil and beeswax in a jar and place the jar in a pot of boiling water.

I'm also making hand lotion.


When it's melted, add a little bit of vitamin E oil,  about 1/4 tsp. 


I poured it into an old diaper cream tin.


Let it cool in the fridge.  That's all you have to do.  This stuff works really well,  Bennett had a pretty good diaper rash when I made this for him and it cleared it up super fast.  It's so cheap you can use it at every diaper change to prevent a rash.

My master plan is to have an amazing garden this summer and to grow calendula flowers in it.  Then, I will infuse the oil with calendula flowers before I make the bum balm.  Apparently calendula is really good for treating rashes, eczema and even fungal infections.

Also,  I couldn't find beeswax in stores,  maybe I didn't look in the right places or maybe stores don't carry it because nobody else is interested in making things from beeswax.  So,  I called up a local bee keeper,  they had lots of beeswax they were happy to get rid of.  It was a win win.


This post was shared at Simple Lives Thursday and Your Green Resource Thursdays.

Saturday, March 10, 2012

Spaghetti Squash Casserole

Sorry I've been away for awhile.  We've been having some internet issues, so posting has been difficult.  Things seen better today,  so I'll give this a try.

This is something I tried the other day.  I really love the not eating wheat thing, however sometimes I just don't know what to eat.  I'm so used to noodles and sauce.  So, I bought a spaghetti squash.  I cooked it up with spaghetti sauce and lots of cheese and it was delicious.

Spaghetti Squash Casserole

There is a strange urge deep inside me that makes me try to cook everything in my crock pot. So, In case you ever wanted to know,  yes you can cook a spaghetti squash in your crock pot.


I cut it in 8 pieces, removed the seeds and added about an inch of water to my crock pot.  It cooked on low all day, when I wanted to make supper it was ready.


I scraped the squash from the skins and put it in my casserole dish and added butter and salt and a good layer of cheese.


 Then I added my spaghetti sauce and some more cheese and baked it in my oven for 20 minutes at 350 F.


Here's my recipe for spaghetti sauce

1 lb ground beef
1 onion
1 red pepper
2 cloves garlic
1 tsp each of oregano, basil and salt
28oz. diced tomatoes

Brown the ground beef,  add onion and pepper,  cook until soft. Add garlic, oregano, basil, salt and tomatoes and simmer for 15 minutes.


This post has been shared at Real Food Wednesdays,  Healthy 2day Wednesdays, and Frugal Days Sustainable Ways.

Sunday, March 4, 2012

Pictures of our trip

Indiana, Bennett and I checking out the bearded dragon
Indiana


Aleksei playing with bubbles


How I spent my morning,  visiting with an old friend.

Our super-cool friends Teegan and Travis who let us stay at their house.

Thursday, March 1, 2012

Road Trip!!!

We are heading out for a weekend of fun.  We are going to meet my family at the science center and visit some muchly loved friends.  We often do short road trips in the summer but it never occurred to us that we could do this in the winter too.  Since we are homeschooling,  it's about high time that we made field trips a priority, I say.
So,  the point of this post.... What are we going to eat?  A day or two of fast food can really send us for a loop. We are now mostly a wheat-free family, so sandwiches are out.  Lots of fresh fruit and vegetables are great, however I need some protein or I'll fall over and we can't eat nuts because of  Indiana's allergy.  So, I tried something new and I'm so glad it worked out, cause I think this is our answer.

Roasted Chick Peas

I cooked some chick peas in my crock pot.  Then I dumped them onto a towel and dried them.

 Then I put them on a baking sheet and drizzled them with olive oil and stirred them around a bit.  Next I baked them at 400 F for 40 mins.  I stirred them every ten minutes.  When they are crunchy, not soft, they are done.  As soon as they were out of the oven I sprinkled salt, curry powder, cumin and paprika on them.

YUMMM... the boys love them too.  I'll have to make more before we even go on our trip.

Shared at Recipe Swap Friday at grocerycartchallenge.blogspot.com

Wednesday, February 29, 2012

Victory Through Grapefruit

Well, I'm not one who should give cleaning advise.  I'm not a cleaner or an organizer.  It's odd that I've been doing a bit of both in the last few days.  The organizing has been a failure,  but the cleaning has given me a small victory.  I'll start with the victory first.

Grapefruit...  We have been eating a ton of it.  This is wonderful in so many ways,  however it's kind of annoying when I have to empty the compost bucket four times a day.  It's the middle of winter and my compost pile is not conveniently located.  I figured out something useful to do with all the grapefruit peelings and it has to do with cleaning my house.  VICTORY.

Take your citrus peels and let them dry on the counter for a few days.  Then grind them up in your food processor.  What you end up with is grapefruit powder.  You can use this powder to clean your bathroom sink or tub or counter-tops.  I mix mine with a bit of baking soda and use a scrubber.  It smells really good and it's anti-bacterial too.


I also want to try this too.  Put all your grapefruit peels in a jar and cover with vinegar. Let it sit for a month, then strain and use as an anti-bacterial spray.

And now to the failure.  I realized yesterday that my cupboards were full of empty jars and small, opened baggies of lentils or beans.  I had the idea of putting the contents of the random little baggies into the jars, therefore eliminating the empty jars and the little baggies.  Brilliant, no?

What I ended up with was a cupboard full of this...


The jar full,  but still the little baggy of stuff.  My hopes and dreams shattered.


This post was shared at adelightfulhome.com your green resource Thursdays.

Thursday, February 23, 2012

On the Bandwagon - with a recipe

We jumped on the bandwagon my friends.  The wheat-free bandwagon that is.  Alex has been dealing with a lot of pain with digestion lately so we figured a good over-haul of our eating was in order.  So,  we have cut out all of our breads and pastas.  Any grains we do consume I try to soak them first,  but this is proving difficult to remember.  We have been eating tons and I mean tons of fruit and vegetables.  It really is wonderful.  We also eat lots of meat,  which is a nice bonus for Alex as he was kind of tired of my meat - stretching ways.  It's also nice that we just filled our freezer with half of a grass-fed cow.  We are also trying to keep up in the probiotic department,  eating yogurt and kefir regularly.
The results have been pretty much amazing.  Alex doesn't have his bouts of gut pain anymore,  I feel energetic even though Bennett keeps me up all night. and, I think Indiana's eczema is getting better.  I still find it a little hard not to eat pasta, but I've been replacing it with potatoes.  This is what we ate tonight.  It was pretty good.

Mushrooms, Meat and Potatoes in my Crock Pot 

1 big chunk of round steak
1 cup of sliced mushrooms
3 or 4 potatoes sliced.

Throw all of this in your crock pot.

Jalapeño ketchup.

2 jalapeños, seeded and diced
2 tbsp minced onions
1/4 cup water
1 tsp cumin
3 tbsp ketchup.
in a small saucepan boil jalapeños, onions and water until the jalapeños are very tender and mushy.
chop them up in a food processor and add cumin and ketchup.

Drizzle the ketchup over the meat and potatoes.  Cook on low 8-10 hours or high 4-6 hours.
Just so you know,  this is not spicy,  the jalapeño ketchup just gives it a very nice flavour.
Serve with homemade sour cream or homemade ranch dressing.


Monday, February 20, 2012

Crack pot for my Crock Pot.

I'm passionate about a few things.  One of them is my crock pot.  It may be a little weird, but it is what it is.
I think I would be able to operate my kitchen with only my crock pot and a hot plate.  Who needs an oven?  I don't.

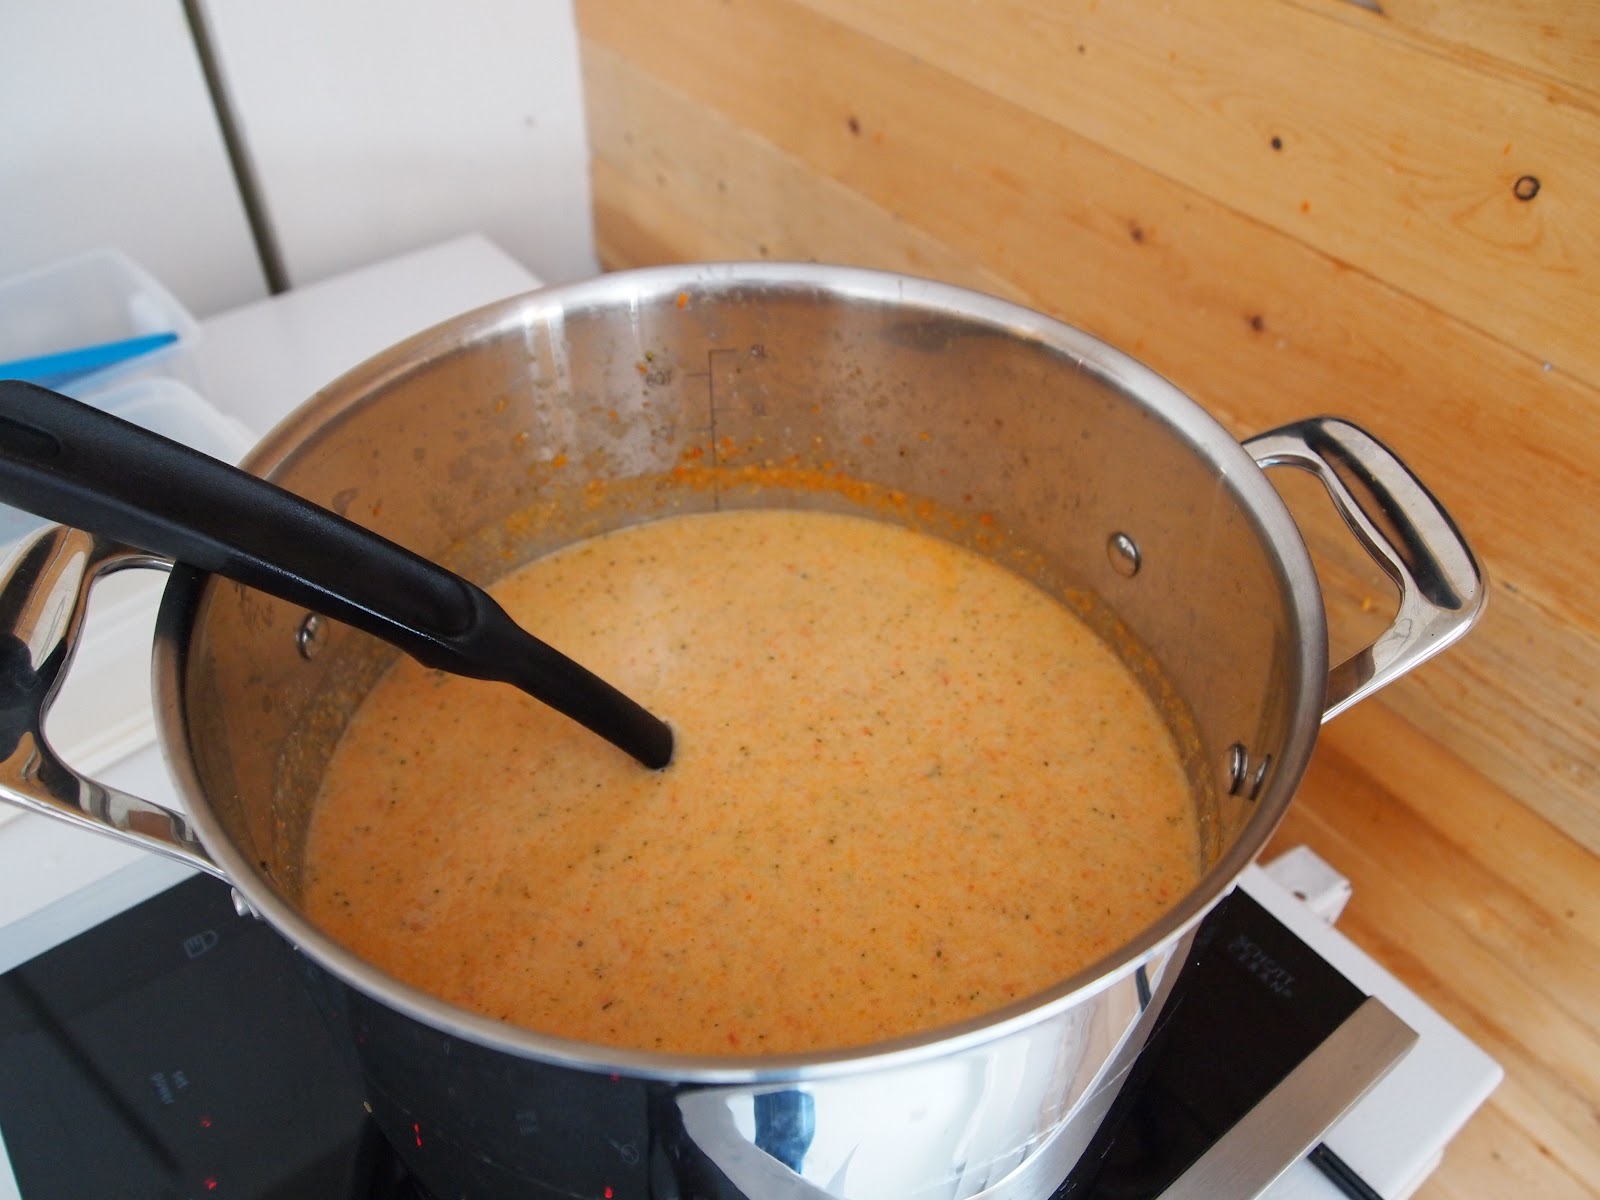
                                                                 My well loved Crock Pot.

Five things you can cook with your Crock Pot.

1.  Beans! Beans! Beans!
Don't buy canned beans,  dry is way cheaper.  Put a bunch of dry beans in your crock pot.  Cover with water and let them sit over night.  The next day,  strain them and give them a good rinse.  Put the beans back in the crock pot and cover with more water (about an inch over the beans) and cook on low all day.  You can check them after about 6 hours and see how they're doing.  You may need to add more water.  Different beans cook in different ways.  When they are soft,  strain them and rinse them and let them cool a bit then you can put them in a big ziploc bag and put them in the freezer.  Then just use them the same way you would canned beans.

2.  Meat
Throw a big chunk (or chunks) of meat in the crock pot, and cook.  Chop it up and freeze it.  This is so handy.
Did you know you can even cook hamburger in your crock pot?  Just put your ground beef in the crock pot,  don't break it up, you want it to stay in a brick shape.  Cook on high for about an hour or two, then turn down to low for a few more hours.  Check doneness with a meat thermometer. There will be a lot of liquid,  drain this out and then break up your ground beef.  This is really good to have in your freezer for spaghetti sauces and stuff.

3.  Baby Food
We're getting close to that time again,  another month or two and I'll be making baby food all the time.  The crock pot can be helpful for making some of the pureed vegetables.  Sweet potatoes, carrots, applesauce can all be done in the crock pot.  Just peel and chop your whatever and put it in the crock pot with a little bit of water,  cook on low.  When they are soft, just mash them up.

4.  Chicken Stock
After an evening of pigging out on chicken,  put the carcass in your crock pot,  add some celery, carrots or onions if you want,  cover with water and cook on low for like 24 hours.  Strain out the liquid and if you feel like it you can pick the meat off the bones.  Put the broth in jars or old yogurt tubs and freeze.

5.  Yogurt
I've been making my own yogurt for a few years now.  I have never tried it in my crock pot.  I'm a failure.
Here is a good tutorial on Crock Pot Yogurt.


Shared at Domestically Divine Tuesday, Healthy 2day Wednesdays, and Frugal Days, Sustainable Ways., and Things I Love Thursdays.

Thursday, February 16, 2012

Cream of Fridge Soup

We've been eating a lot of soup for lunches these days.  It's winter time,  it seems like the right thing to do.  This is just a basic recipe for vegetable soup,  as in every vegetable in your fridge soup.

Start by cutting up all the vegetables you have lying around.
In this particular soup I used;
broccoli
cauliflower
onions
red peppers
carrots
I meant to use kale,  but seemed to have forgotten.

There are no limits,  you could use celery, sweet potatoes, potatoes,  spinach,  green beans  whatever you have.

Put all your vegetables in a pot and add chicken broth right up to the top of your veggies.


Of course I don't have any chicken broth because we've been eating too much soup these days that I can't keep up with homemade broth.  I just used water,  and it was just fine.  You can add any spices you think will fit.  For my soup I added curry powder and cumin and lots of salt.


Cook your veggies until they are soft, then blend them up with an immersion blender.


Add cream,  or homemade sour cream would be delicious (and nutritious)  or you could try homemade coconut milk if you have a curry soup.  Then most importantly,  serve with cheese.

This was shared with Recipe Swap Friday at grocerycartchallenge.blogspot.com and Real Food Wednesdays at kellythelitchenkop.com

Wednesday, February 15, 2012

Lazy Post

There are a few things I have yet to try in my bathroom cupboard revolution journey.  Call it laziness, fear, exhaustion,  what ever you want.  I just haven't been able to let go of a few lingering commercial products in my bathroom cupboard.  Here are a couple things I've been meaning to try.


Body Wash,  I'm almost out of my old stuff,  so I think I'll be trying this soon.

Done!

Tuesday, February 14, 2012

The 'No Poo' Craze

I love gettin' in on the craze.  Going without shampoo (no poo,  as the cool kids call it)  seems to be all the rage these days.  Even though I'm not really a 'rage follower'  I say it's about high time we stopped using shampoo.  And if we all followed this trend,  imagine what would happen.  We might have clean drinking water.  We might not leave an ocean full of plastic for our kids to clean up.  AND..... We might have better hair...gasp.

The truth is we do not need to shampoo our hair and we don't need to condition it either!  I hear a chorus of naysayers whining "but if I don't use shampoo everyday my hair is a slithery slimy mess."  Well,  maybe that's BECAUSE  you use shampoo everyday my naysayer friends.  God created us wonderfully and He designed our scalp to create oils that nourish and repair our hair.  When we use shampoo we wash those oils away with harsh chemicals that dry out our hair even more.  We then need conditioner to coat our hair with oils basically to hide the damage that has been done by the Shampoo.  After a day or two,  these conditioner oils and our natural scalp oils mix together and create the slithery slimy mess that makes us use shampoo again.  It's the never ending soda.

If you are still not convinced,  please read this post by someone who can explain it a lot better than me.

So,  the first step.... Stop using shampoo!!!  that's simple enough,  except not really.  Our poor little scalp has been mistreated for such a long time that it is used to spitting out WAY too many oils in a futile effort to stop the madness.  Our scalp will continue to spit out way too many oils until it is finally convinced that we won't use shampoo again.  This will take awhile (like six weeks or so)  Don't give up.  Buy a nice hat.
Wash your hair with a paste made from baking soda and water as often as you need to.  This actually does clean your hair quite well. If you need to condition use a mixture of 1 Tbsp apple cider vinegar and 1 cup of water.  Stick with it,  your hair will do some crazy things while it's adjusting.  In the end you will have the hair you never knew you had.  For instance,  my frizzy poodle top is gone and now my hair is just curly, maybe  only wavy.

If the baking soda thing doesn't work for you (which it doesn't for everyone) please read crunchy betty's alternative.

This was shared at Things I love Thursday at thediaperdiaries.net, Your Green Resource Thursdays, and Simple Lives Thursday.

Monday, February 13, 2012

Body Butter

I think this week I'll get back to the bathroom cupboard revolution I mentioned a few weeks ago.  In my journey to revolutionize my cupboard this is one of my biggest surprises.  Body Butter,  who knew I couldn't live without it.  I used to use whatever lotion I had around,  usually heavily scented and full of alcohol so it would sting my poor little legs.  When I first made this recipe for body butter I was put off by the greasy-ness on my hands.  But, I realized  it's body butter,  it's not for your hands it's for your body.  It feels so nice after a shower.  I've become addicted and I just made my second batch.

Oh So Wonderful Body butter


3 Tbsp cocoa butter
2 Tbsp coconut oil
2 Tbsp olive oil
1 Tbsp beeswax

Put all ingredients in the jar you want your body butter to live in.

                                                                Sadly,  this is the only picture I have of this process.


Place in a pot of boiling water and wait for everything to melt.

Take your jar out of the boiling water and give it a good stir.

Put the jar in the refrigerator  for about an hour or until it has hardened.

There you go, there's nothing to it.

This was shared at Domestically Divine Tuesday at aboverubies.net, Healthy 2day Wednesdays, and Frugal days Sustainable Ways

Friday, February 10, 2012

Coconuts!

Remember this post where I talked about making my own coconut milk?  Well, I was using shredded coconut that I bought in a teeny tiny package for alot of money in the organic section of my local grocery.  I am proud to say,  I am now much older and wiser my friends,  I am ready to take it to the next level.  Here we go,  lets make coconut milk from and actual coconut.  What the What!?!?!?!?


Here are two of my cuties holding a real coconut.  See the three black spots?  Those are the eyes,  they are the weak spots in the shell.


Drill a hole in each of the eyes. (holding the coconut with your feet is optional,  but you'll feel a bit more like a monkey)


Next, drain out the coconut water into a glass.  For future reference,  coconut water is like nature's Gatorade so if you ever find yourself on Survivor and you haven't been able to find your water source and you fear your end will come while on reality television,  have no fear,  just find a coconut and you'll be right as rain.


Wrap the coconut in a towel, grab a hammer and hit away.


We found that if we broke the coconut into smallish pieces it was pretty easy to separate the meat from the shell with just a butter knife.  The meat will have a brown papery substance on it,  that's okay,  you can eat that.  You can throw your chunks of coconut into a food processor and grate them up and then make your coconut milk like you normally would.


This post was shared at Simple Lives Thursday at gnowfglins.com

Monday, February 6, 2012

My Own Italian Dressing Made With Love

If you've been reading my blog you will know that I'm trying to change the way we eat around here.  More specifically I want to get rid of the processed foods and replace them with lovingly homemade food.  I realize this is not a new idea and there are plenty of others who have been doing this for years.  Me, I'm just starting,  please forgive me if some of these ideas are old hat to you.  These are baby steps my friends.

Homemade Italian Dressing


I used this recipe, I think it's a keeper.

Homemade Sour Cream - Can It Be So Simple?

I love me some sour cream.  It's a staple in our home,  it can not be done without.
I seem to have passed on this love to my kids.  This is Indiana eating sour cream by the spoon full in a restaurant,  we're classy like that.


This recipe is so ridiculously easy,  I have no idea how I've gone 30 years without knowing about it.  Making your own sour cream,  who knew?

All you need is cultured buttermilk and whipping cream.


Take a clean 1 quart jar,  pour about 1/2 cup of buttermilk in the bottom then fill with whipping cream,  stir really well, put the lid on and let it sit on the counter for 12-36 hours. You should keep your jar in a warmish area of your kitchen away from cold drafts.  I keep mine on my stove, that way I won't forget about it.


You will know it is done because it will thicken up to a nice sour cream consistency.  It will also thicken a bit more in the refrigerator.   That's it.  You have your own sour cream without all the added stuff that comes with store bought.  And, all those bacterial cultures are really good for you. You can use your sour cream as a starter for your next batch as well.


This post was shared at Real Food Wednesdays,  Healthy 2day Wednesdays,  and Frugal Days Sustainable Ways.

Friday, January 27, 2012

I love cloth diapers (giveaway)

        What kind of aspiring hippy would I be if I didn't use cloth diapers on my little baby's bottom?  We started cloth diapering when our second son was 6 months old.  Now, our 3rd son is 4 months old and has been in cloth since he was two weeks old.  We love cloth diapering.  We have saved so much money, it is way easier on the enviroment,  and they are just so cute!
         The cloth is much easier on their skin.  The only diaper rash Bennett has had was when he was still wearing disposables.  When we put him in cloth it went away.
                                                               
                                                                           
This is Bennett sporting a bright orange Bamboo Minky diaper from Kawaii Baby.


    I think our favorite thing about cloth diapers is that they just work better at holding in the poo.  I prefer to use cloth when we are travelling because that will always be when the major poop-cident happens.  If Bennett is wearing a disposable the poop is sure to go up his back.  The cloth diaper will keep it contained.

                                                             
                                                                        This is Aleksei back in the day.

So,  we have used two different brands of cloth diapers.  One brand (I don't want anyone to get mad at me, so we'll call it brand X)   was a very reputable brand that you can find at most baby boutique places.  We bought them second hand but still in very good condition, for $15 a diaper.  Brand new they cost more like $25.  We then learned about Kawaii Baby diapers and they looked about the same as brand X but for only $7 a diaper so we bought some of those too.  Well,  brand X did not hold up too well,  when I finally got rid of them they were barely holding together.  Our Kawaii babies are still going strong.  I still have the 10 that I bought for Aleksei and I bought 15 more for Bennett.  So,  I have a whopping 25 diapers, it's a luxury,  it's in no way a neccesity.  15 diapers is a nice amount.


                                          This is Aleksei in Kawaii Baby one size heavy duty diaper.

Now, getting to the fun part,  Kawaii baby has offered to give away this adorable cloth diaper to one of my readers.


To enter this giveaway you just need to leave a comment on this post and/or 'like' my facebook page.  I will pick a winner on Feburary 6th.


Now, go take a look at the other kawaii baby diapers at http://www.theluvyourbaby.com/


Update:  Congratulations to Pearl Lee Wanderlust the winner of the Kawaii Baby giveaway.  Thanks to everyone who entered.

Wednesday, January 25, 2012

Lotion Recipe

As part of my bathroom cupboard revolution,  I've started to make my own lotions.  We have really dry skin around here.  Indiana has always had terrible eczema and for some reason in my old age I've developed it too.  It makes me so sad to have to rub lotion on Indiana's legs and have him scream because it stings so much.  If you make your own,  with regular ingredients,  it won't sting..... it probably won't cause cancer either,  just saying.

This is what you need.

a pretty little glass jar
1 part beeswax
1 part coconut oil
2 parts olive oil
Vitamin E oil (optional)
essential oils (optional)

Sadly,  I don't have a nice little kitchen scale,  if I did,  this would be easier.
I just guess the amounts and put everything (except the vit.E and essential oils) in my jar.  I then put that jar in a pot of boiling water.


Let it heat up until melted.  Stir from time to time.

Next,  you can test the consistency by taking a spoonful of the liquid and put it on a plate or something and put in the refrigerator.


After 2 minutes you can check and make sure it's a nice lotiony consistency.  If it's too soft, add more beeswax to the jar,  if too hard, add more olive oil.  At this point you can add a capsule or two of vitamin E
oil and essential oils if you want.  The Vitamin E oil adds some healing benefits and is also a preservative.


Next take your jar and give it another stir for good measure and put it in the refrigerator with the spoon in it.


Let it cool for about an hour in the refrigerator stirring every 15 minutes.


And that's all.

A quick word to the wise...
Beeswax is a pain to clean up.  So,  it is NOT a good idea to make a large batch of lotion in a bigger dish and then transfer to small jars.  Not a good idea at all.


This post was shared at Things I Love Thursdays and Simple Lives Thursday